Building Sites
We've already established Foonoo's multi-builder architecture, and we've also briefly looked at the built-in default site builder. In this chapter, we'll go into the details of how sites can be built with this default site builder. By the end of this chapter you should be able to build sites, like a personal home page, or the one serving this documentation.
Foonoo's default site builder provides a unique way of combining templates, text files, and even data in some cases to generate sites. For most parts, the default builder depends heavily on its themes to provide most of the features needed to tie sites together, like navigation bars. In this section, we'll take a look at how the default site builder works, and we'll look at how the default theme that ships with Foonoo allows us to build complex sites.
The Default Site Generator and Theming
Sites in foonoo always have themes enabled when being generated. When you're simply rendering text files, the default site generator and its default theme are used. The default theme that ships with foonoo's default site generator is called Ashes. Ashes is highly configurable, and it allows you to significantly personalize sites to your taste. But you don't have to stick with Ashes; you always have the opportunity to use other themes.
When generating simple sites, where you're merely rendering Markdown files, Ashes simply wraps the processed HTML output of the text file with HTML code that attaches a simple stylesheet to decorate the text. Beyond this blank default, Ashes can be configured to provide other valuable features, like title bars, navigation blocks, and even special color schemes. All configurations for Ashes can be set in the main site.yml file.
Let's build a sample site
Before delving into the configuration of Ashes, and how to build sites with foonoo's default site builder, let's consider the following files as the content for our test site.
There's Introduction.md, an entry to the site which has the following content:
---
title: Introduction
---

# Introduction

Lorem ipsum dolor sit amet, consectetur adipiscing elit, sed do eiusmod tempor incididunt ut
labore et dolore magna aliqua. Scelerisque felis imperdiet proin fermentum leo vel. Eu facilisis
sed odio morbi quis commodo odio aenean.

## Something Interesting
At in tellus integer feugiat. Sit amet nulla facilisi morbi tempus iaculis. Luctus accumsan
tortor posuere ac ut consequat semper viverra. Scelerisque viverra mauris in aliquam sem
fringilla ut morbi tincidunt.

## Another Interesting Thing
Nunc sed augue lacus viverra vitae. Aliquet nec ullamcorper sit amet risus. Egestas sed tempus
urna et pharetra pharetra massa massa. Nunc sed augue lacus viverra vitae congue eu consequat.
Mattis aliquam faucibus purus in massa.
and there's a Description.md with the following content:
---
title: Description
---

# Description
At in tellus integer feugiat. Sit amet nulla facilisi morbi tempus iaculis. Luctus accumsan
tortor posuere ac ut consequat semper viverra. Scelerisque viverra mauris in aliquam sem
fringilla ut morbi tincidunt. Quam pellentesque nec nam aliquam.

## Some Details
Aliquet nec ullamcorper sit amet risus nullam eget felis eget. Aliquam sem et tortor consequat id
porta nibh venenatis cras. Sed augue lacus viverra vitae congue. Vivamus at augue eget arcu
dictum varius duis. Dui vivamus arcu felis bibendum ut tristique et egestas quis.

## Some other Details
Habitant morbi tristique senectus et. Pellentesque habitant morbi tristique senectus et. Sed
libero enim sed faucibus turpis in eu mi. Justo donec enim diam vulputate ut.
Assuming we keep both of these files in the same directory, as demonstrated by the tree below ...
.
├── Description.md
└── Introduction.md... and we run foonoo's generate command:
foonoo generatethe output should be an output_site directory containing the rendered site. The output_site directory will contain the output HTML files, Introduction.html and Description.html, as well as a _foonoo directory meant to hold some foonoo specific files (in this case a cache).
The full directory tree should now be structured similar to the following:
.
├── _foonoo
│ └── cache
├── Description.md
├── Introduction.md
└── output_site
├── assets
│ ├── css
│ │ └── bundle-default.css
│ ├── images
│ │ ├── foonoo-footer-dark.svg
│ │ └── foonoo-footer.svg
│ └── js
│ └── bundle-default.js
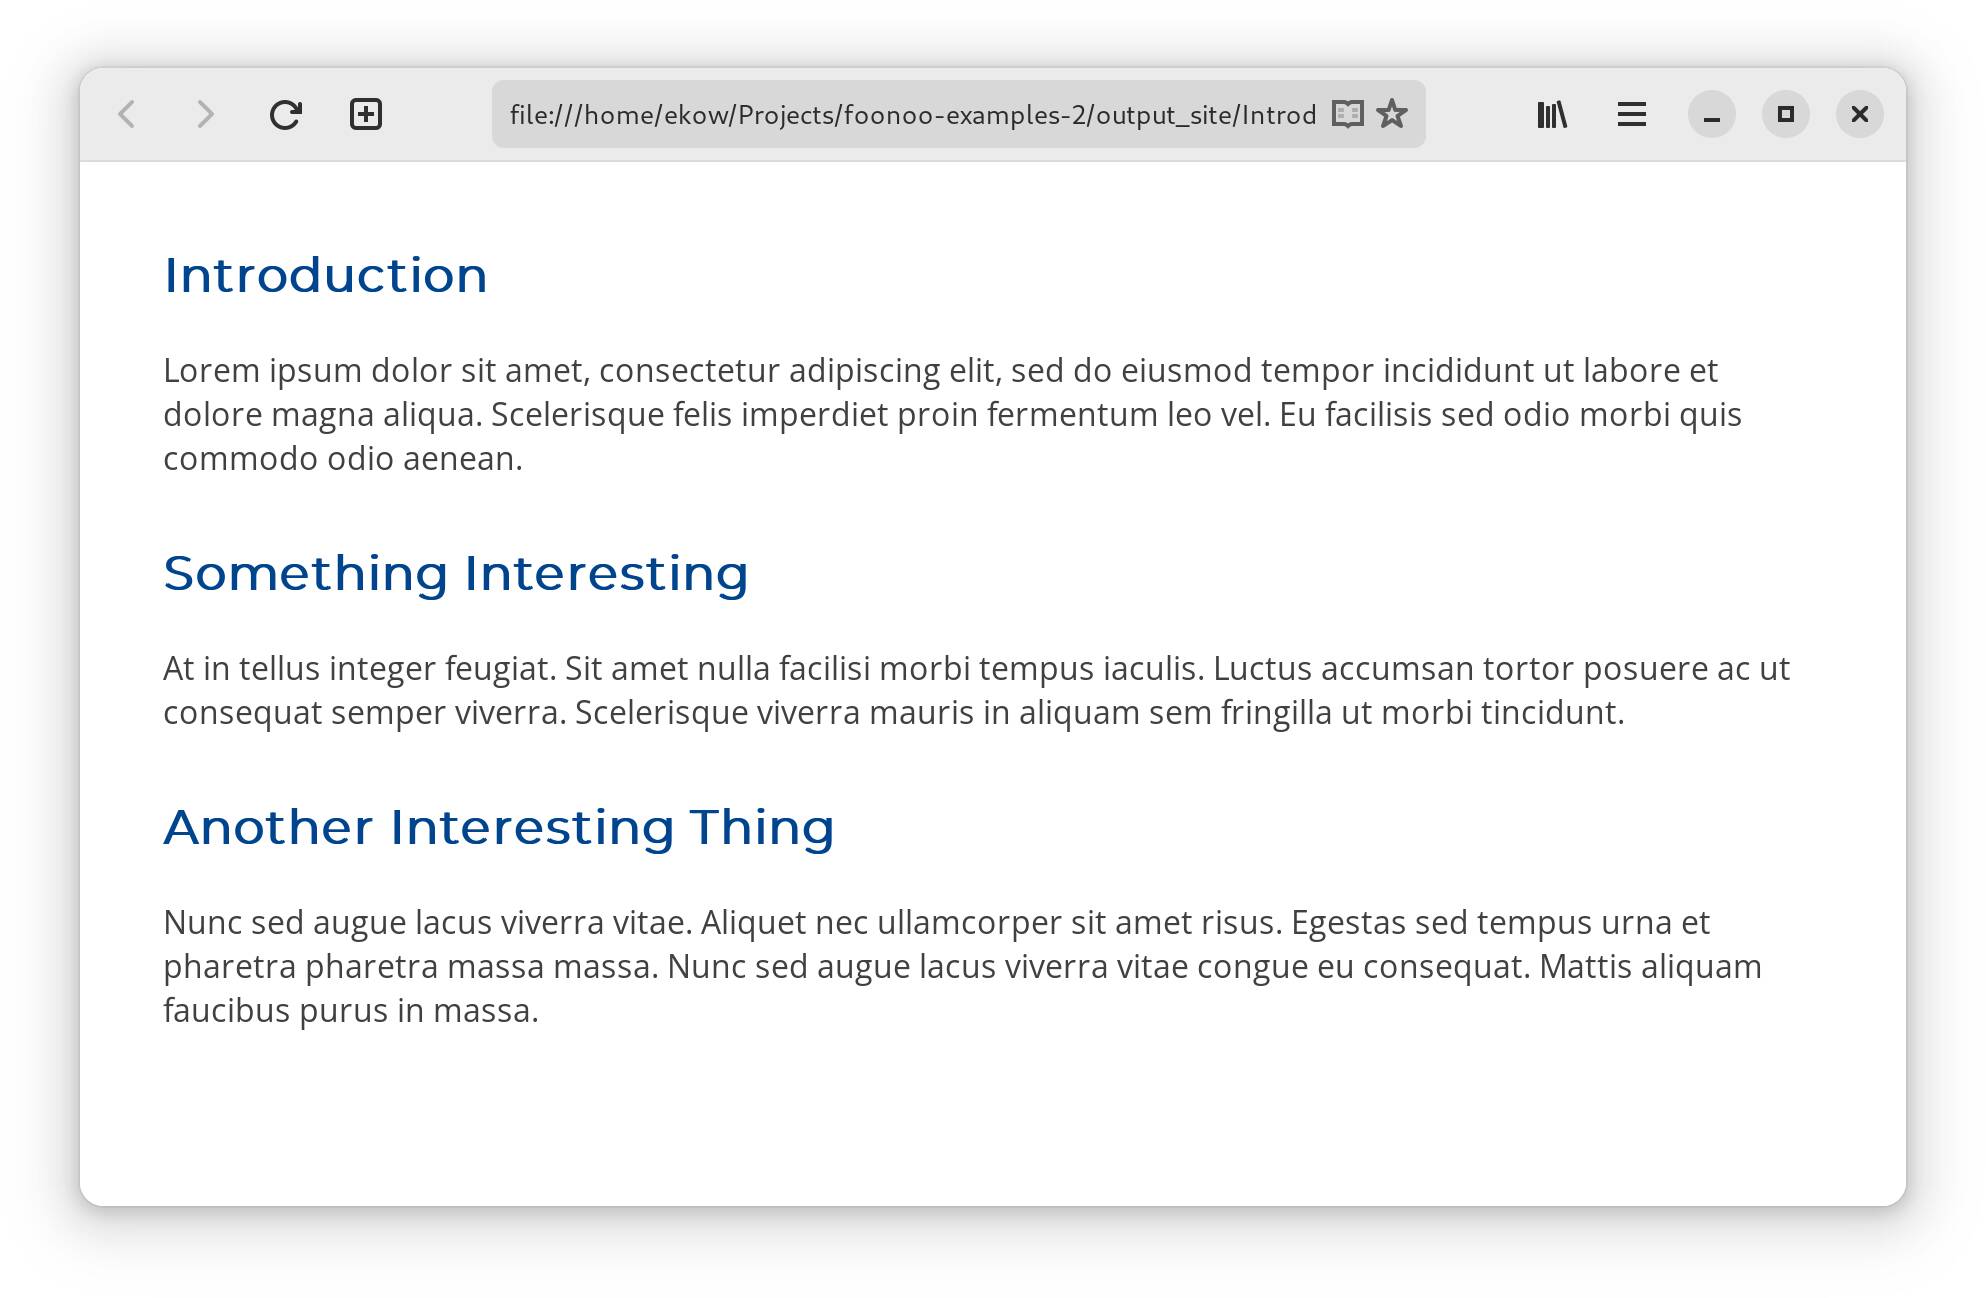
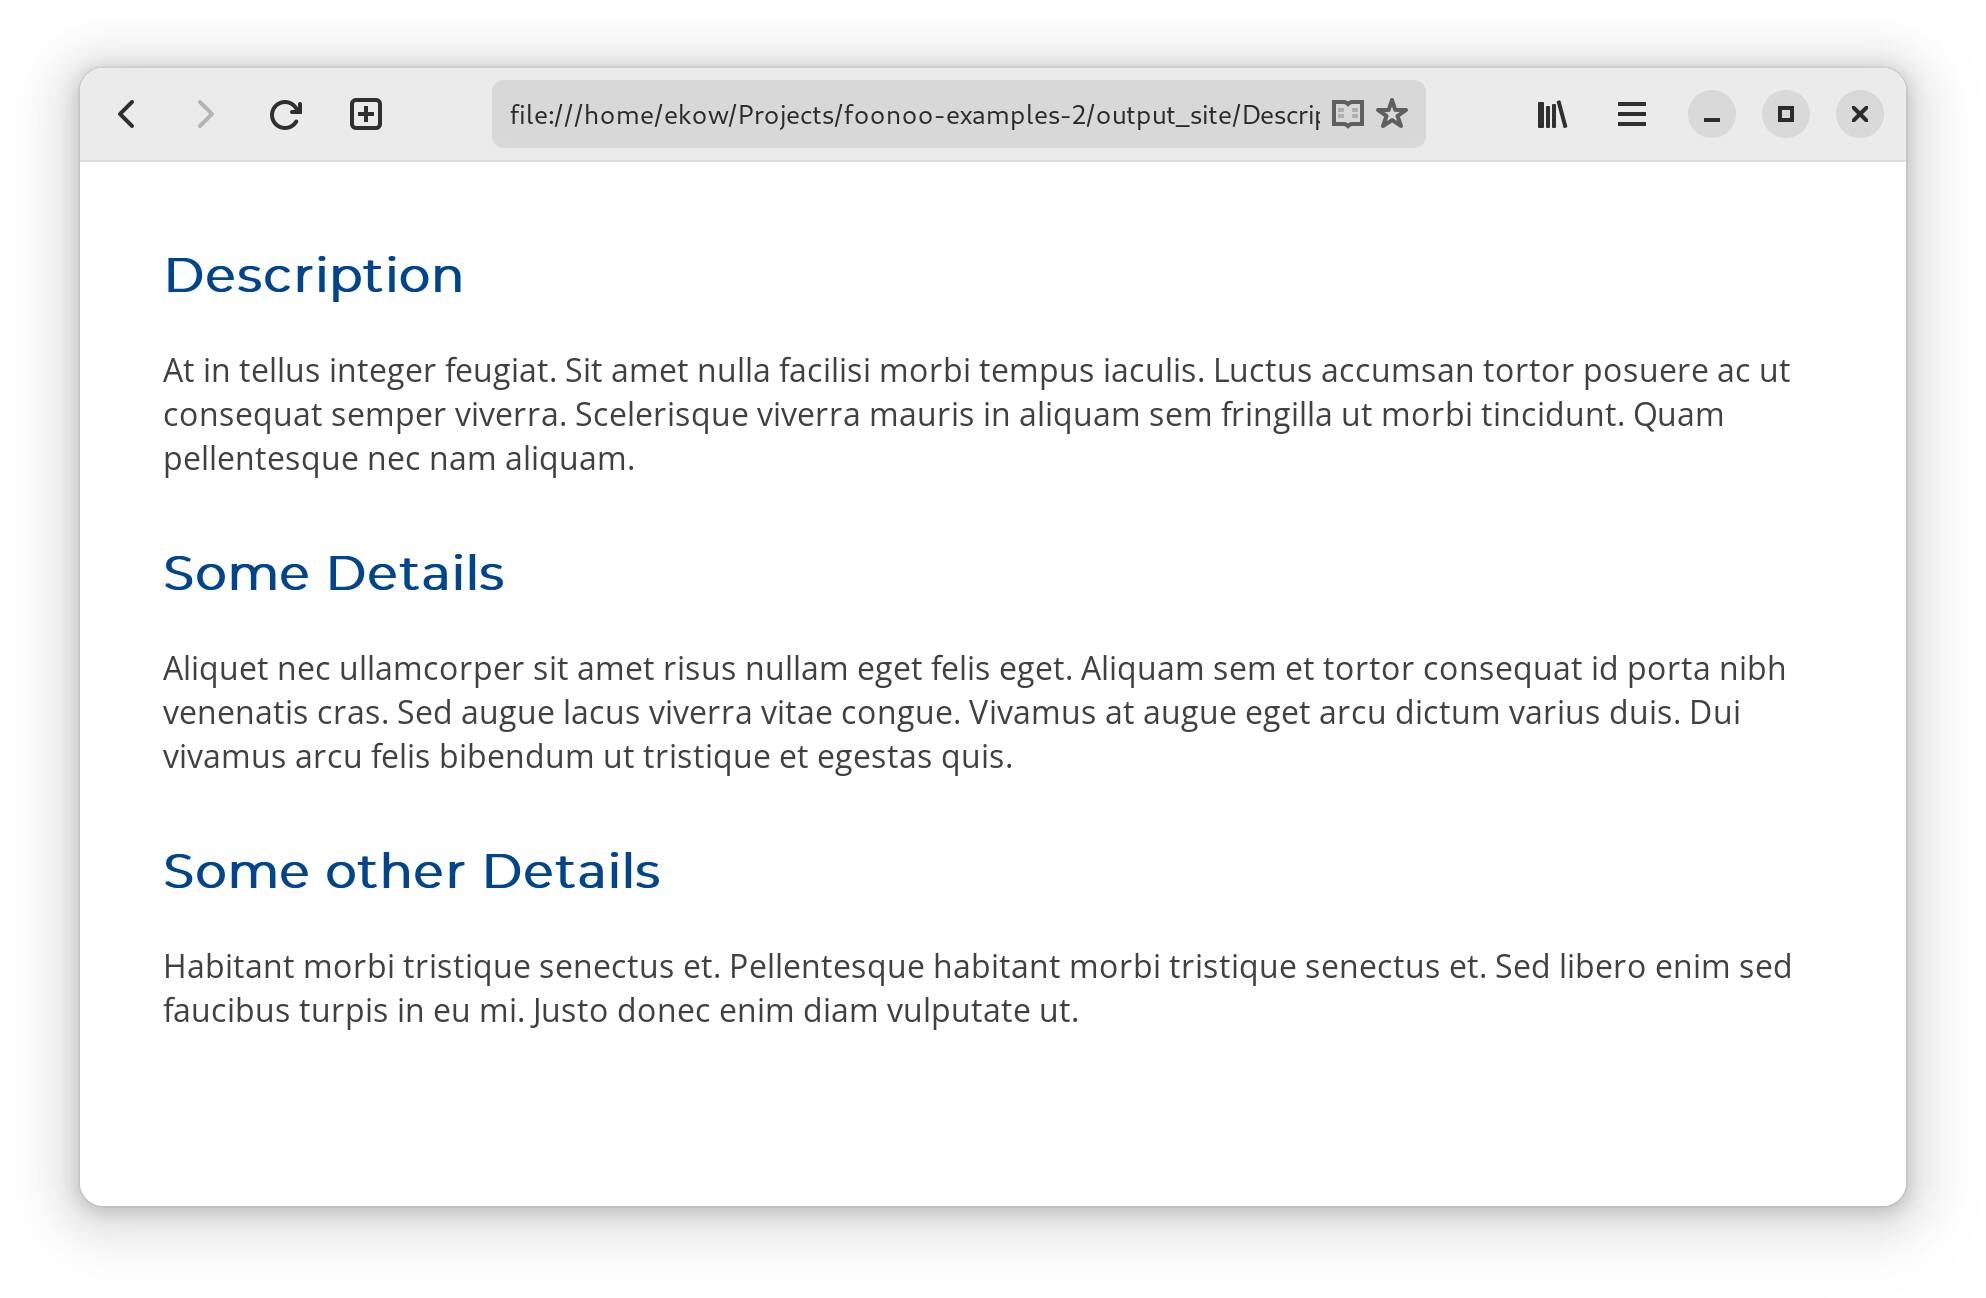
├── Description.html
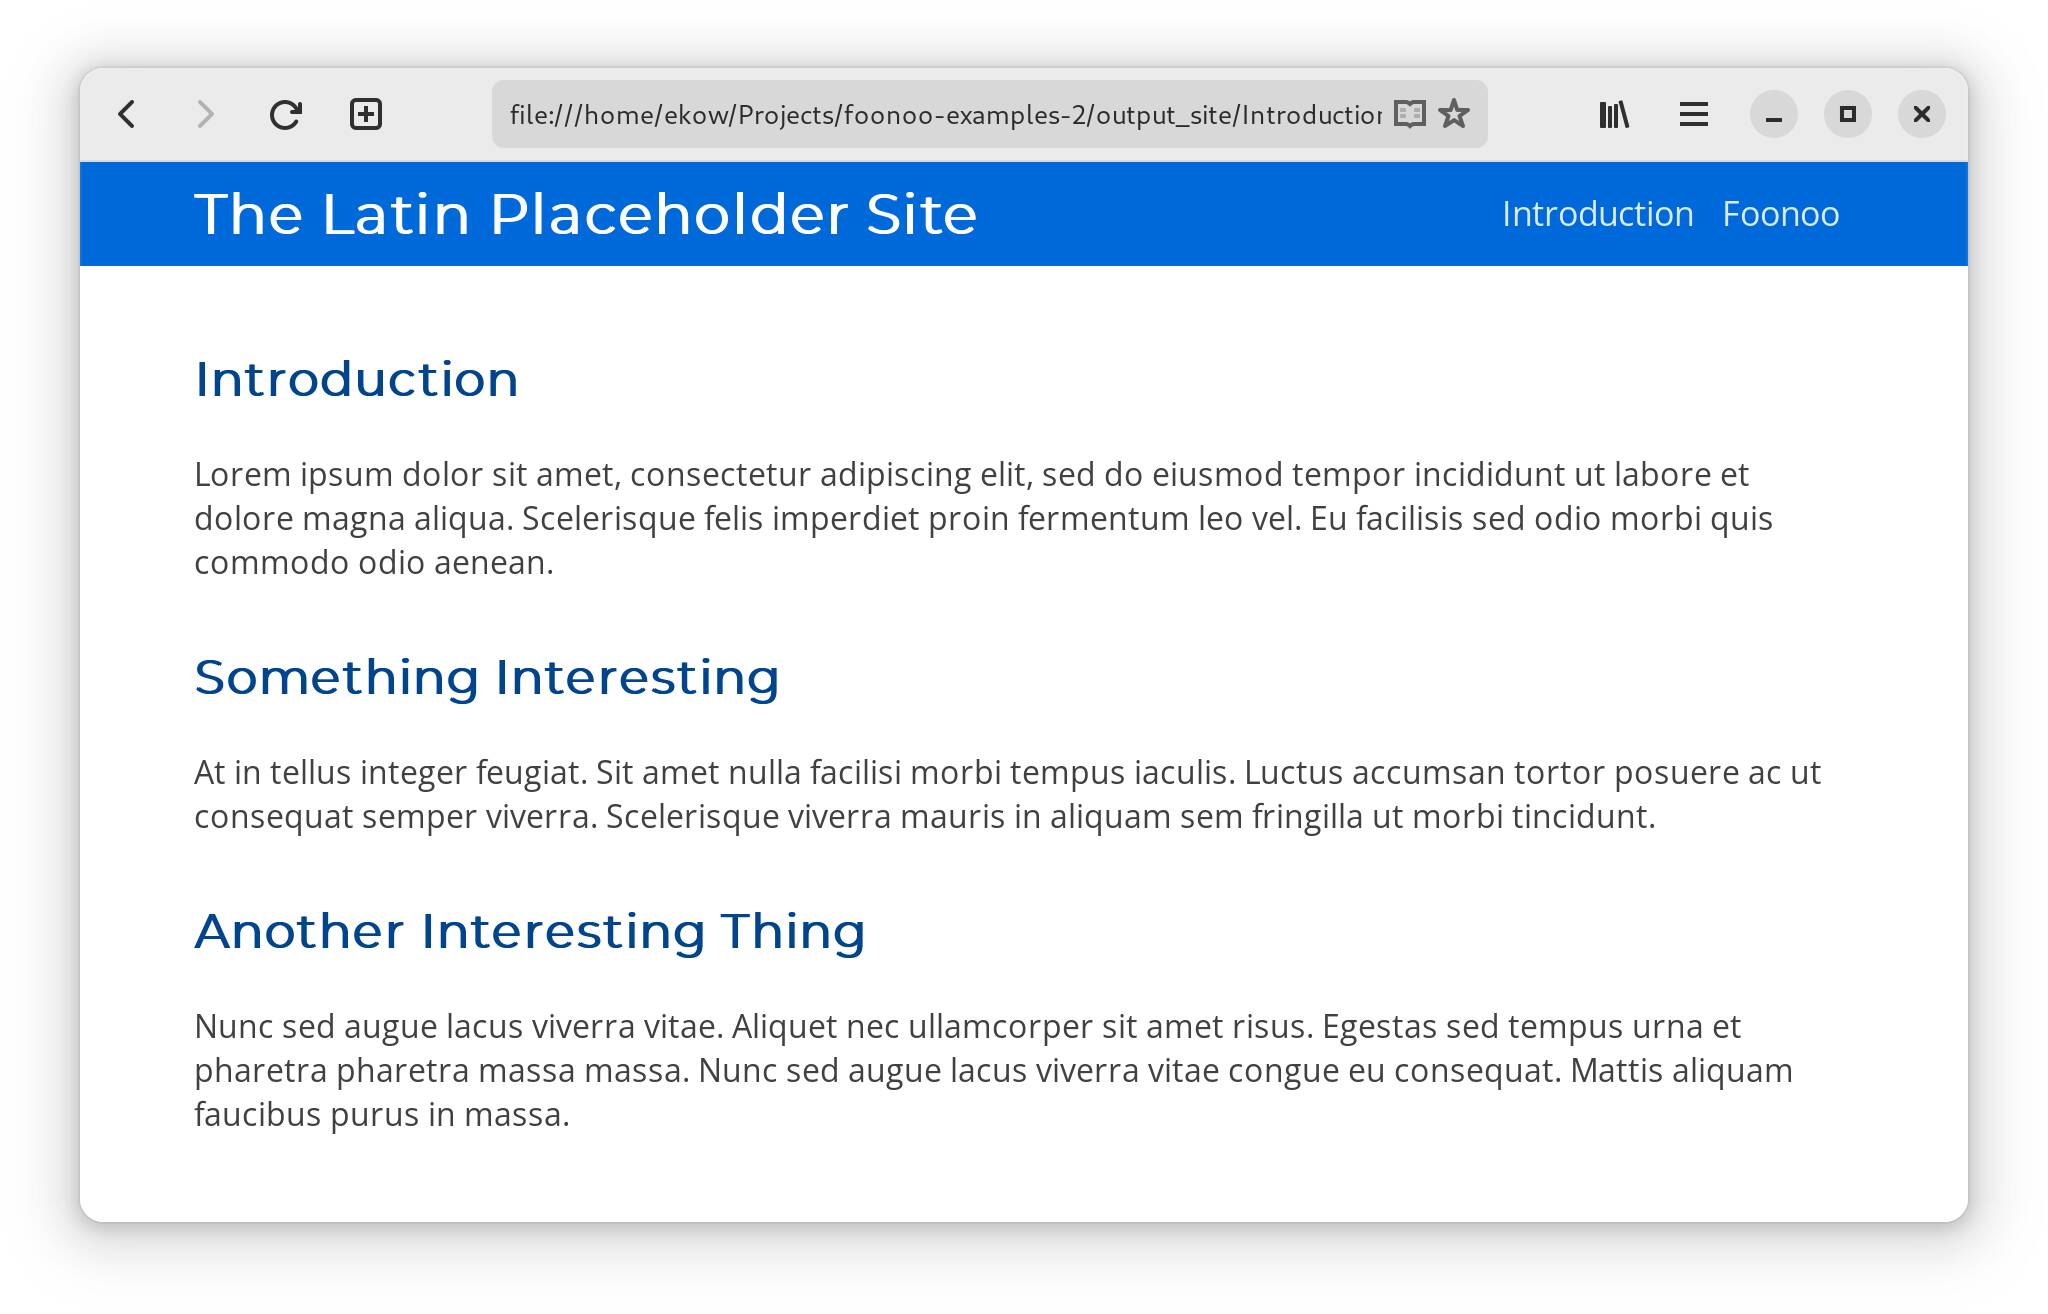
└── Introduction.htmlThese two files would be styled with the Ashes theme, and they should look as shown below.
Adding a Title
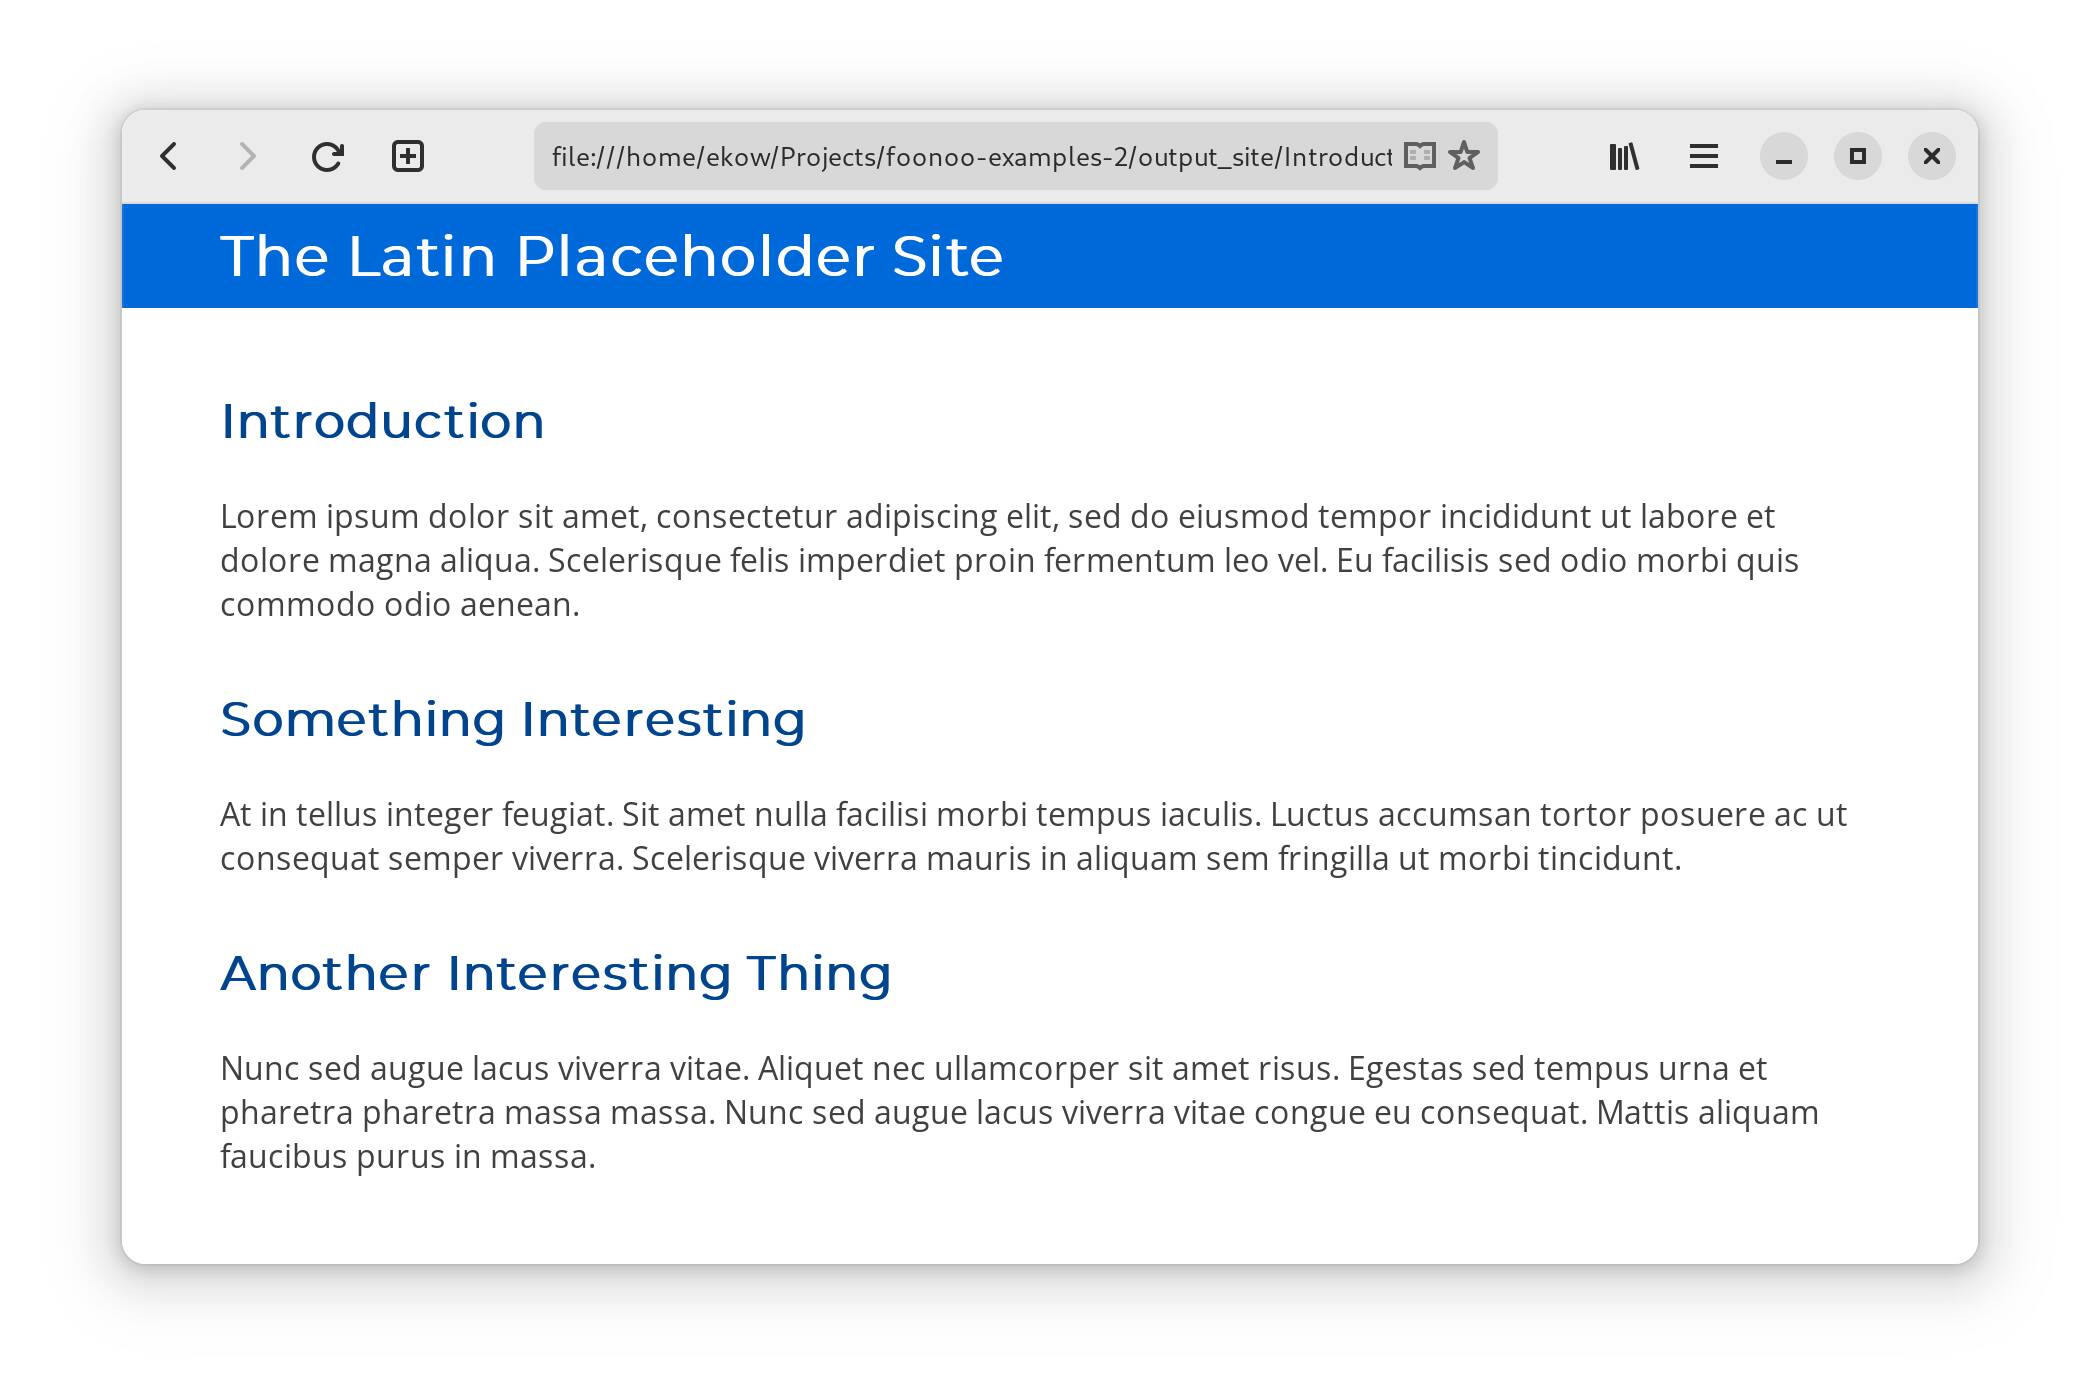
With the pages in place, we can tie our site together with a common title, and there's no way to tie a site together than with a common header. Also, for consistency, we'd love to have this header displayed on all the generated pages. Thankfully, Ashes has a configuration for that. Assuming we're calling this site the "Pseudo Latin Placeholder", we can modify our site.yml file to reflect this as follows.
type: default
title: "The Latin Placeholder Site"
Note that we supplied the type key to refer to the site generator, which is default in this case. Once this site.yml is in place, another execution of foonoo generate should update our two pages with headers displaying our new site title.

Adding an index page
Our site will now need a default page to display when some just visits our domain. This page, typically known as the index page, can be created by simply adding an index.md file to your site with any contnet you want. Apart from supplying your own index.md file, you could also designate one of your pages as the index page in the site.yml file, or you could have an automatically generated one.
To designate a page as the index, you can add an index key that is pointed to your preferred page to the site.yml file. For example, to add designate our introduction page as the index, you could make the following change to the site.yml file.
type: default
title: "The Latin Placeholder Site"
index: Introduction.mdAdding Navigation Links
Ashes also allows for the definition of navigation links. To set up a navigation bar, all you have to do is provide the labels and links in your site.yml file. All the links will be placed on every site header. In the case of our running example, if we wanted to add navigation links, our site.yml could look as follows:
type: default
title: "The Latin Placeholder Site"
index: Introduction.md

menu:
  - title: Introduction
    url: Introduction.html
  - title: Foonoo
    url: https://github.com/foonoo
This would place two navigation links: one for the Introduction.md page and another to foonoo's github page. Now, the final page should look like the following:
Adding a Table of Contents
When building a documentation site, like this one, or some kind of site with detailed reference material, you might want to have the table of contents displayed on the side. Foonoo—through Ashes of course—makes this process a little easier.
The first step, as you may have already guessed, involves setting a value in the site.yml file. In this case, the value is enable-toc and you just have to set it to a boolean value of True. This will lead to the site.yml file below:
type: default
title: "The Latin Placeholder Site"
index: Introduction.md

menu:
  - title: Introduction
    url: Introduction.html
  - title: Foonoo
    url: https://github.com/foonoo

enable-toc: True
Generating your site with this new configuration should now produce the following site:
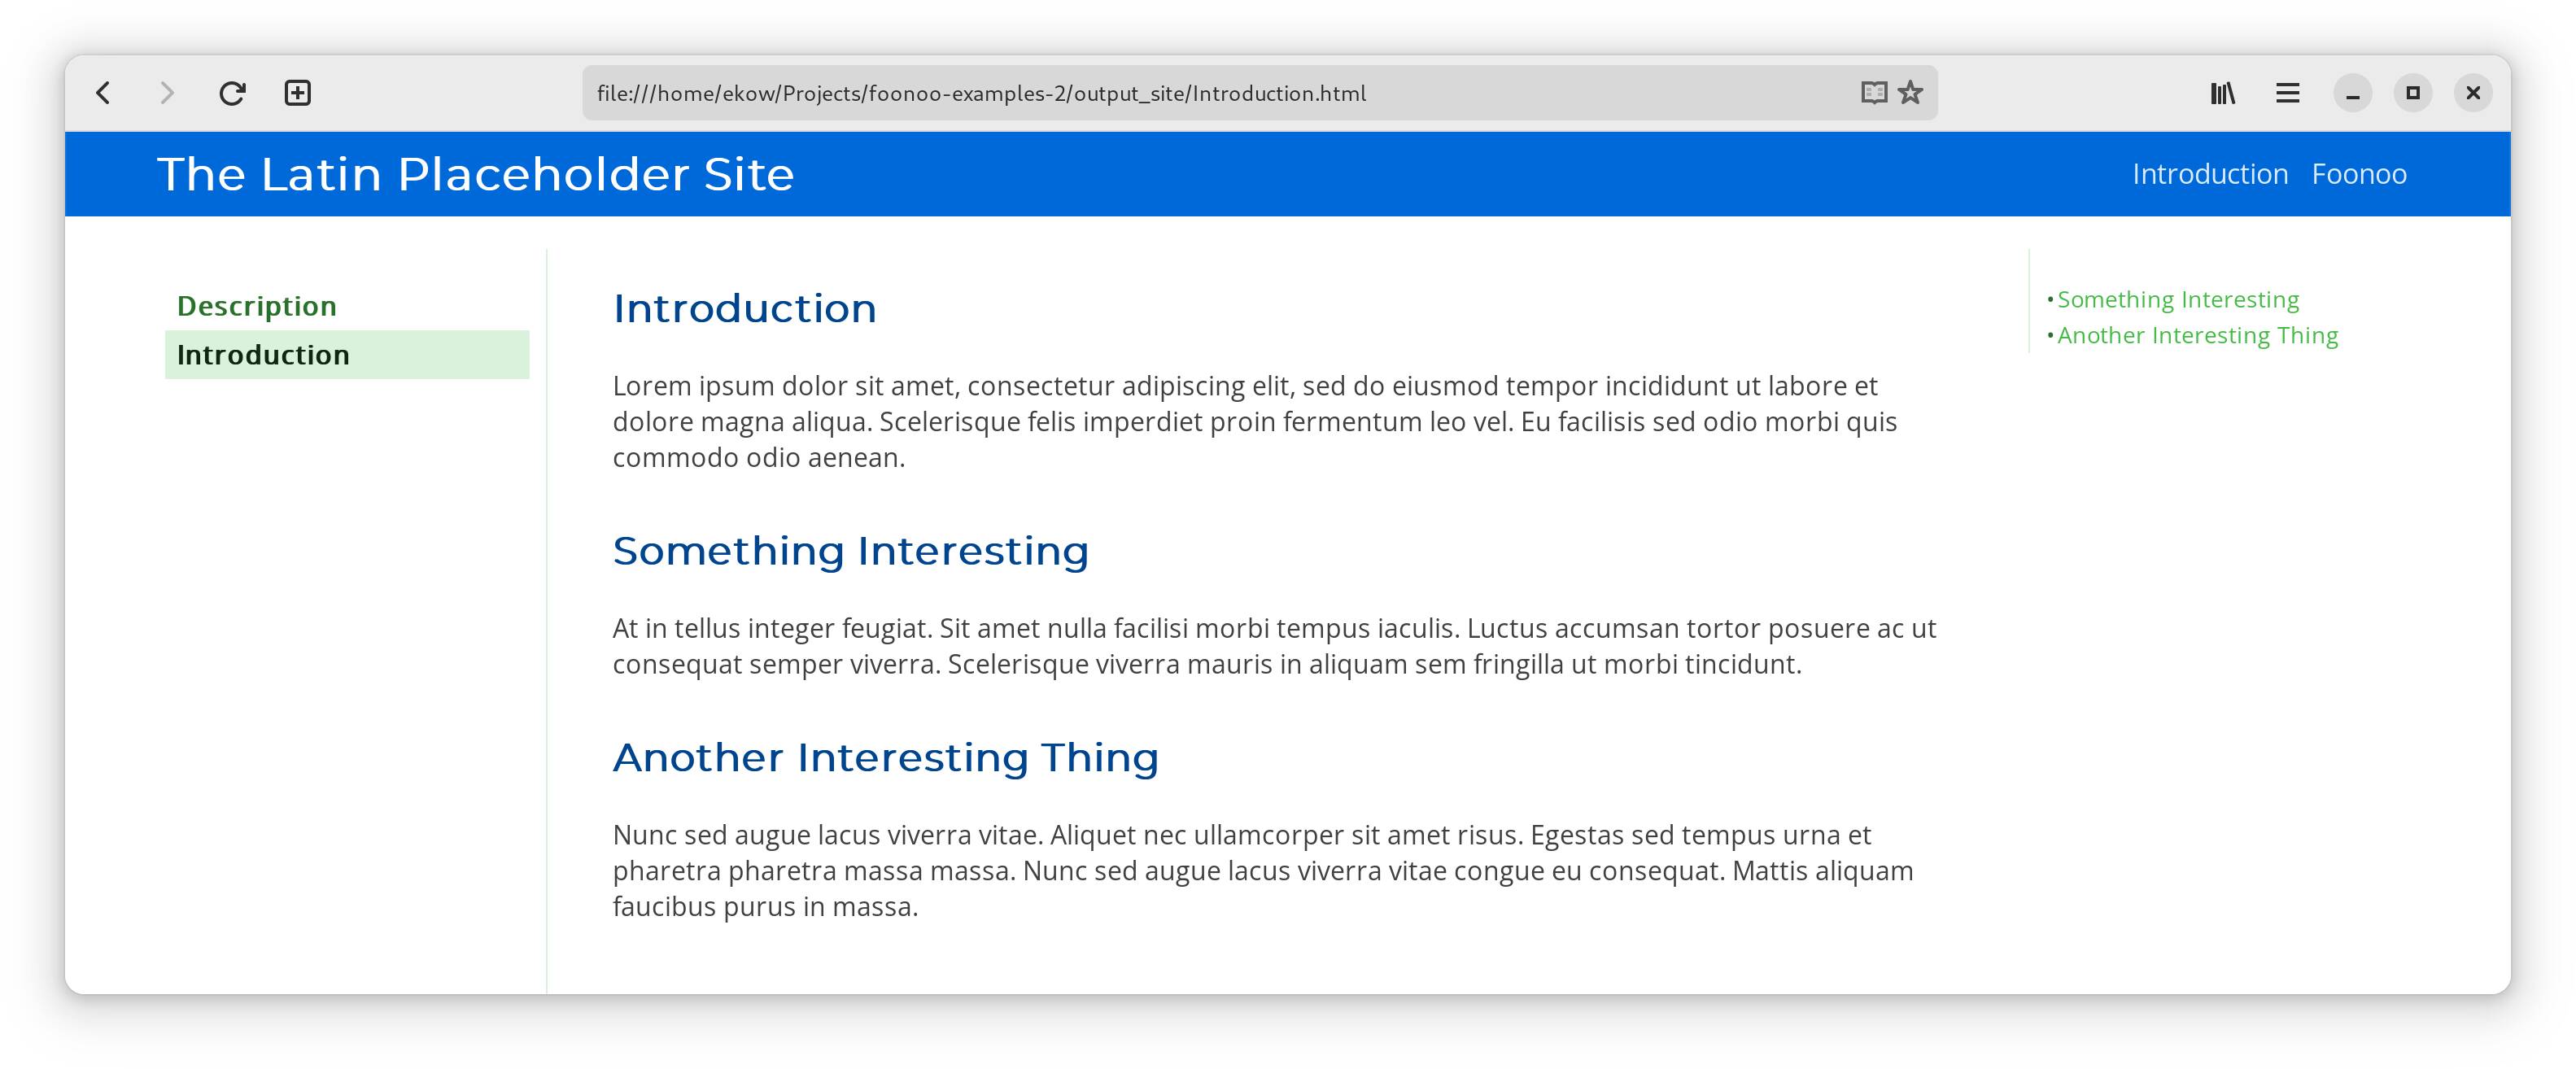
As you may have noticed, the table appears to be generated in alphabetical order. This is, however, not the case. In fact, it is dependent on how the underlying operating system presents the list of files. In our running example, Description.md is placed above Introuduction.md, because that's the order in which they were read into PHP. To help in presenting the table in an order that is relevant to your content, Foonoo provides two primary approaches.
First, you could provide a toc-weight value in the front-matter of your content. This weight alters the content's position on the table. All content have a default toc-weight of 0, and when the table of contents is generated, they are sorted in decreasing order of this toc-weight. This means if you increase the toc-weight, content moves up the table, and if you decrease it, content moves down.
In the case of our running example, to place the Introduction page above Description, you could give it a weight of 10. This would bump it up in the table to make it preceed the Description. Choosing a figure like 10, and not 1, makes it easy to add in other numbers inbetween. If you prefer to, you could also use fractional numbers.
With the second approach, you have to explicitly provide your table of contents through the site.yml file. For our running example this could be achieved with the following.
type: default
title: "The Latin Placeholder Site"
index: Introduction.md

menu:
  - title: Introduction
    url: Introduction.html
  - title: Foonoo
    url: https://github.com/foonoo

enable-toc: True

toc:
  - Introduction
  - Description
Explicitly defining the table of contents has the added benefit of filtering out unwatned content, although specific items can also be removed from the automatically generated TOC by placing a toc-skip: True value in the frontmatter.
Setting Colors
One final party trick Ashes holds up its sleeves is the ability to have you choose your own colors. As usual, we need to update the site.yml file to make this happen. This time, however, we have to explicitly tell Foonoo to use the ashes theme before we can access this configuration. As such, we need to add a theme section as shown below:
type: default
title: "The Latin Placeholder Site"
index: Introduction.md
menu:
- title: Introduction
url: Introduction.html
- title: Foonoo
url: https://github.com/foonoo
enable-toc: True
theme:
name: ashes
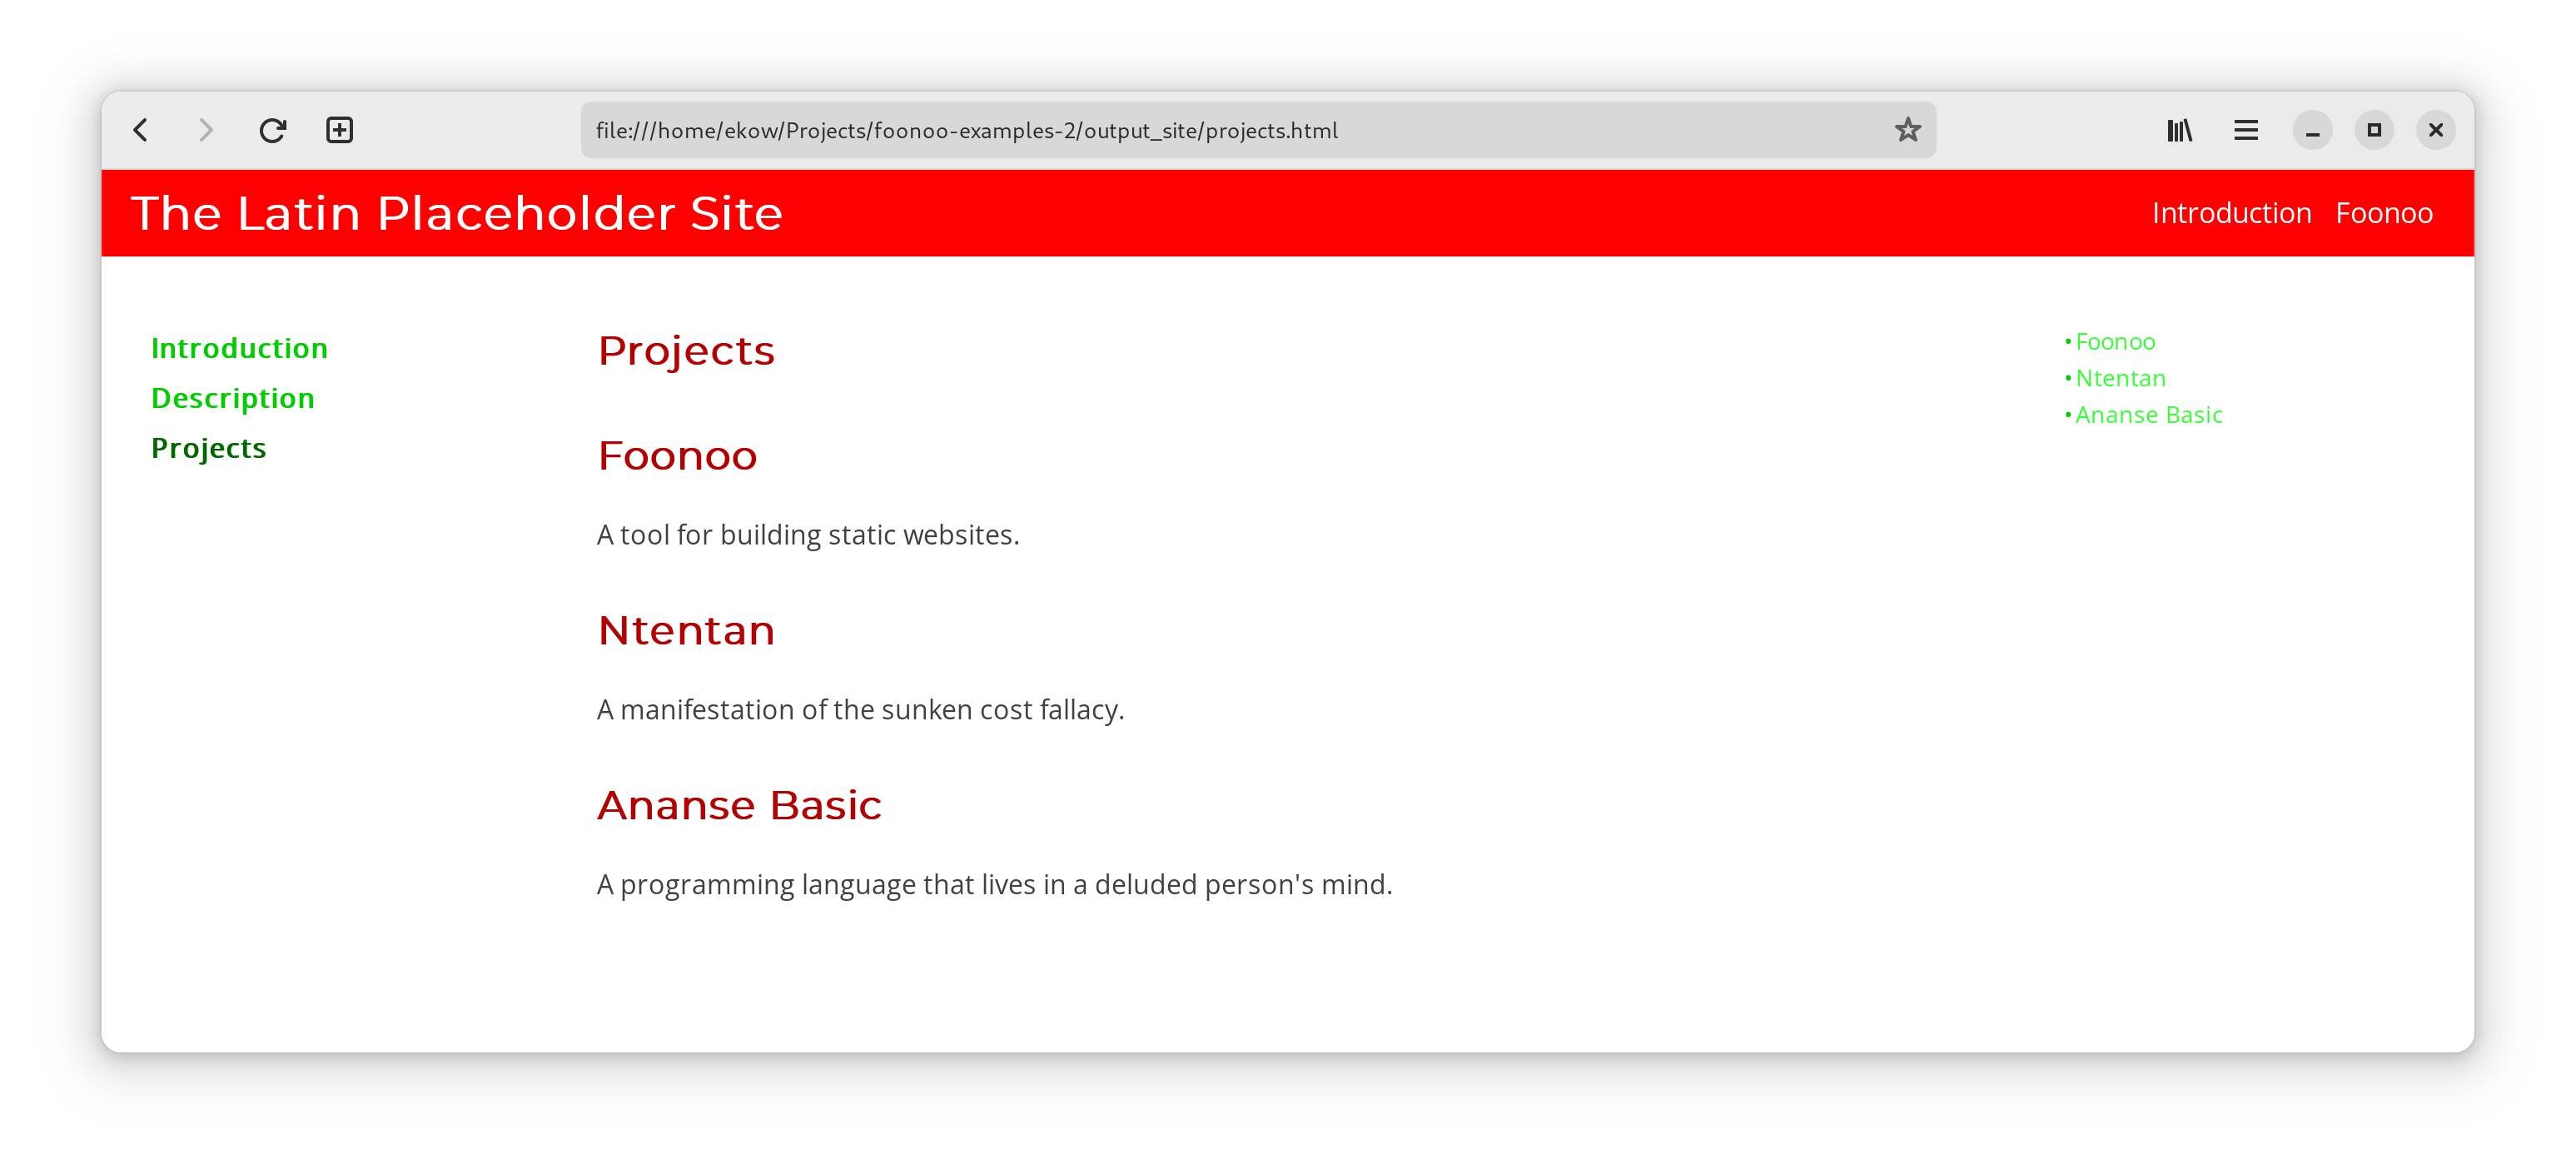
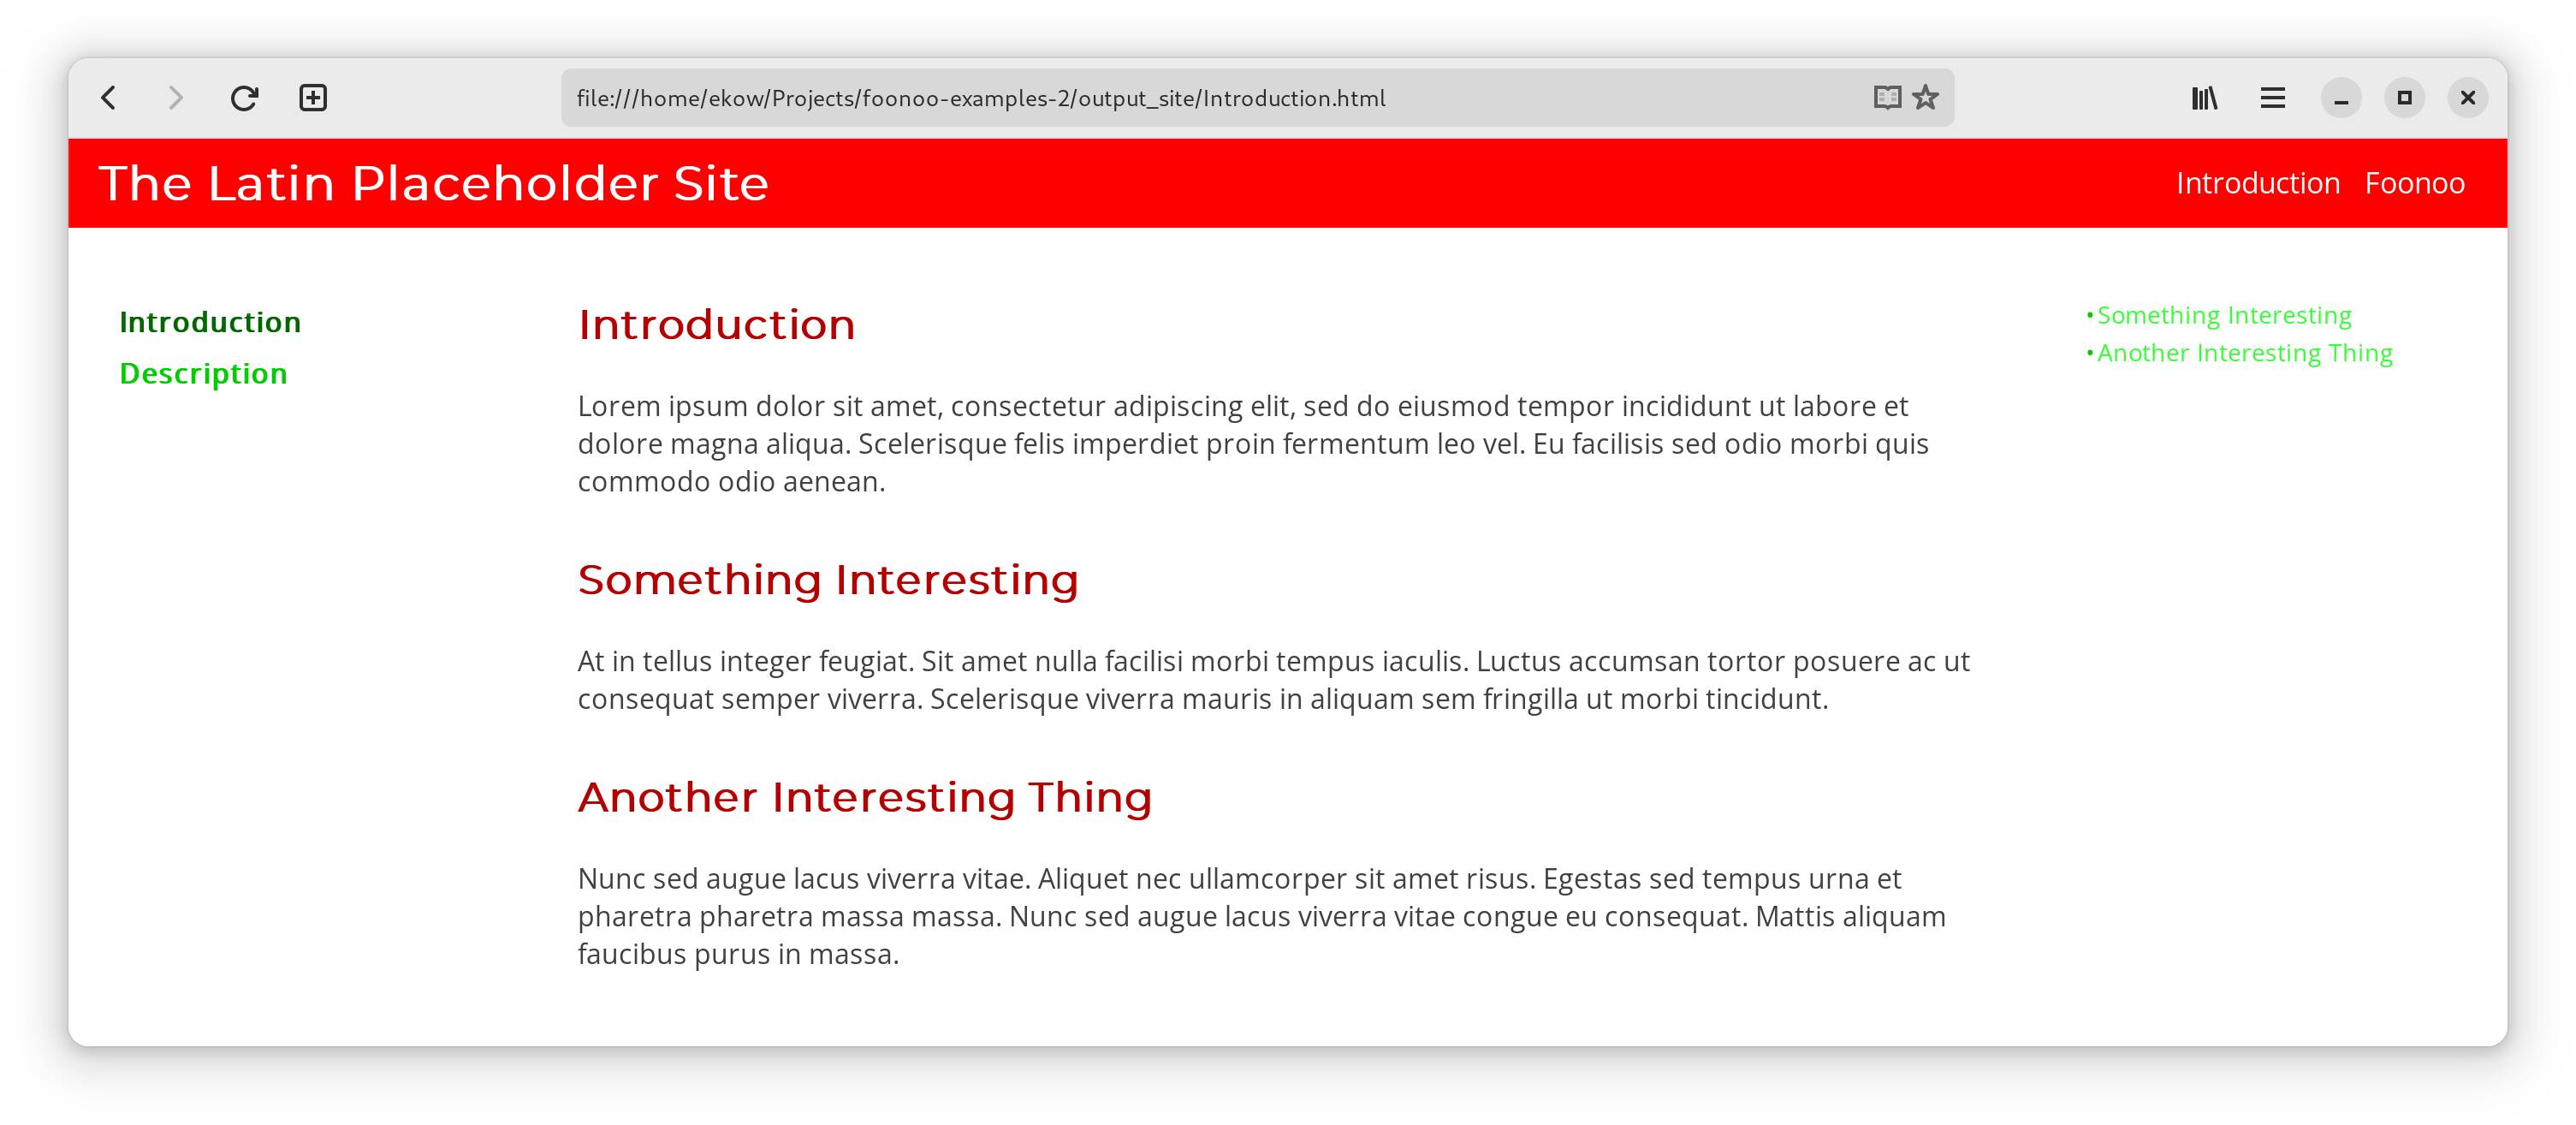
primary-color: "#ff0000"
secondary-color: "#00ff00" The theme section allows you to provide the name of a theme along with other theme specific configuration values. In the case of this example, we are setting the primary and secondary colors of the Ashes theme. These colors are used by ashes to set a general tone and may not be explicitly used.
Rendering Custom Data
Although you're building static sites, sometimes you may have the need to inject some dynamic data. For example, you may want to add an easy to manage list of your projects to your personal home page, or you want to showcase your ever-growing recipe database. Regardless of your needs, Foonoo provides the possibility to inject, render, and style structured YML or JSON data for your site.
Data to be rendered must be YAML or JSON formatted files which must be placed in the __foonoo/data directory. The file's name should only contain alpha-numeric characters (preferably lower-case values, a through z or 0 through 9) and underscoresustom data does not require the Ashes theme. It's a feature internal to Foonoo and can always be used regardless of active theme.
For example, if you wanted to add a list of projects to our running example site, you could start with by defining the template for rendering this data. This template must be in HTML and not Markdown (or similar structured text file). With this template in place, whenever the site is rendered, a page with the same name as the template will always be generated.
In the case of this example, since you are creating a page to list projects, you could name this template page projects.mustache—explicitly implying you'll be using the mustache templating system. Then you can put the following code into the projects.mustache file:
<h1>Projects</h1>

{{#projects}}
    <h2>{{name}}</h2>
    <p>{{description}}</p>
{{/projects}}
Or if you wanted to use good old PHP's templating features, you could go with the following:
<h1>Projects</h1>
<?php foreach($projects as $project): ?>
    <h2><?= $project["name"] ?></h2>
    <p><?= $project["description"] ?></p>
<?php endforeach; ?>
and save this file as projects.tplphp.
With these in place, you can create your _foonoo/data/projects.yml data file as follows:
- name: Foonoo
  description: A tool for building static websites.
- name: Ntentan
  description: A manifestation of the sunken cost fallacy.
- name: Ananse Basic
  description: A programming language that lives in a deluded person's mind.
Or if you prefer JSON as your data format, you could go with the a _foonoo/data/projects.json as follows:
[
    {
        "name": "Foonoo",
        "description": "A tool for building static websites."
    },
    {
        "name": "Ntentan",
        "description": "A manifestation of the sunken cost fallacy."
    },
    {
        "name": "Ananse Basic",
        "description": "A programming language that lives in a deluded person's mind."
    }
]
Once these are in place, generating your site should produce a projects.html file that looks like below.