How I failed to build a game console. Part I
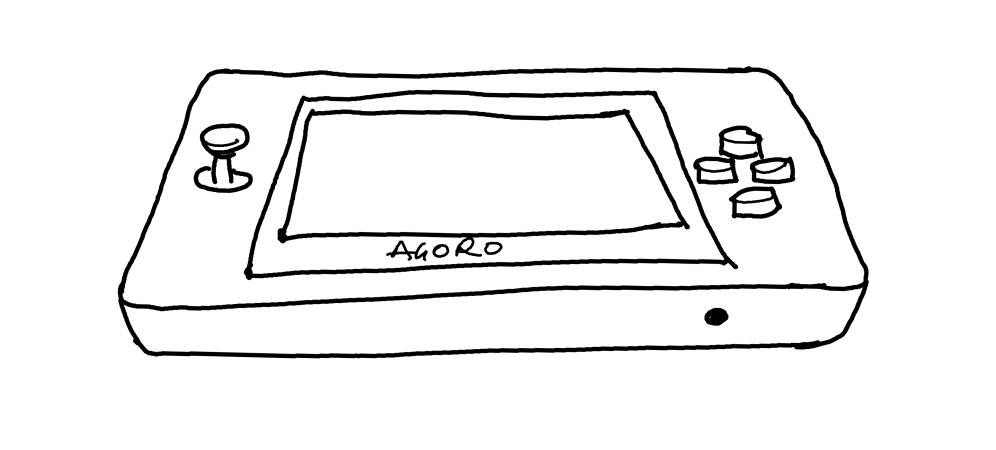
Lately, I have been getting my hands dirty with the Raspberry Pi PICO and its RP2040 chip. Like most people who get into embedded systems—at least, as far as the bubble I fell into was making me think—I started off with some kind of portable hand held game console. It was meant to be a fantasy console named "AGORO".
Honestly, if you think about it, it was quite ambitious to choose this as one of my first projects. But regardless of the expected difficulty in pulling this off, I pursued it. And as expected, I spectacularly failed. But this failure taught one humbling lesson: which is that most low cost MCUs, like the RP2040, are not fast as I originally thought. And that coding for these MCUs require equal parts skill and art if you want to create something outstanding. Understanding this simple fact about performance is obviously going to be invaluable to my future projects.
The RP2040 is slow
As someone with little prior experience in embedded systems, I probably overestimated the speed of the RP2040. After all, everyone said the RP2040 was faster than most MCUs currently available in its price range, and indeed it is. So why do I say the RP2040 is slow? Maybe it was because I was looking at it through the lens of a regular desktop computer's processor.
You see, the RP2040 has dual cores which are clocked at 125MHz by default. These specs make me think about a 120MHz Pentium computer I used as a kid. Back then, this Pentium computer was really fast and it was capable of doing wonderful things (even though it had just a single core chip). But I shouldn't have used the clock speed as the sole metric for comparing the two chips, especially since both chips are of different architectures, and what one chip can do in a cycle, the other may not.
For a fairer comparison, I should have considered that the RP2040 has significantly less RAM when compared to a typical 120MHz Pentium computer. Whereas a typical mid 90's 120 MHz Pentium would have had about 32MB of RAM (64MB or 128MB on the high end), the RP2040 (as used on the Raspberry Pi PICO) weights in at a measly 256KB of RAM. And the differences do not end there. The 133MHz Pentium comparatively had access to an ample amount of caching and specialized instructions that sped up code execution, as well as other external peripherals such as GPUs, sound cards, I/O controllers, and the like to which it could offload tasks.
Although one might argue you could do also rig up an RP2040 with specialized externam peripherals, the degree to which you can do that seems quite limited, and the effort you may have to put in to get that working (especially for someone with my level of experience) may be significant. Most importantly, I think the largest difference comes in the underlying technology the chips use.
So in effect, all I'm trying to say is that I was extremely dumb to base my judgement entirely on the megahertz metric. It's not my fault. I started using computers during the era of the Megahertz Wars, and the clock speed was the only thing manufacturers made us think about when comparing systems.
With that said, I must add that it's not all that terrible to use the RP2040. For a chip that costs about a dollar, with a dev board that costs about four dollars, you'd be amazed at the wonderful things folks have done with it. There is everything from your quintessential Doom Clone, to console emulators, and music synthesizers. Some folks have even built oscilloscopes with the thing! And as you'd expect from extremely motivated creatives, interesting projects that push the limits of this chip are always cropping up.
My experience attempting to build a fantasy game console around the RP2040 made me appreciate the level of skill and the sheer expression of artistic coding it takes to achieve such feats. In the next section of this post, I'll be detailing what I planned to make, and in the second part of this post I'll walk through what I actually ended up with.
My ambitions were GRAND
First, I must admit that my plans for this console were extremely, extremely ambitious. I had no room for simplicity. Since it was my first fully embedded project, though, I planed to go breadboarding by stringing together the Pico development board with other breakout boards of the needed peripherals. I assumed this is how the pros probably do it, too. Using this approach meant I didn't have to get into the weeds of PCB design, something I felt I wasn't ready for.
For the active components, I was mainly going with the RP2040 for the CPU (of course), an ILI9341 display, and a PCM5102 DAC for audio. I got my RP2040 through the RPi PICO board, my display through Adafruit's dev board, and my PCM5102 through a HILETGO breakout board. Additionally I had several other passive components like the buttons, wires, LEDs, and resistors to use in building my I/O.
Stringing the components listed above on a breadboard wasn't going to magically yield a game console. The real hidden sauce for this project was going to be the software that tied all these components together. Writing software is something that I'm quite good at. However, charting the unexplored territory of embedded systems was definitely intimidating. Nonetheless, I relied on my experience and came with the came up with the following design:
One of the two cores on the RP2040 was going to be dedicated to graphics processing. It was going to run in a perpetual loop, and it will receive graphics commands from the other core. In essence, this core will be the one driving the display; it will act as the GPU. Memory for this graphics core will be taken from the RP2040s ram. Given how limited the amount of RAM on the RP2040 is, I planned to use an indexed graphics system. In this system, there was going to be a fixed palette with a limited number of colors, and the graphics buffer was just going to point to the pallette for the actual color of the pixel. This is actually how older graphics cards worked. Through its loop, the RP2040 will convert and push all the data from the graphics buffer to the display as fast as it could.
The other CPU core, will be responsible for running the game code and also sending instructions to the PCM5102 for audio. As to how the code will get to the CPU, I was considering flashing them unto the RPi Pico's 2MB Flash. It would have been cool to have them loaded from an external source, like an SD Card, but the limitation of the PICOs RAM will hinder the amount of code that can be loaded.
So How far did I go?
I made it quite far into my implementation of the display and the graphics architecture. After a lot of wrangling and searching around on the Internet, I managed to connect the display to the PICO through the SPI interface, and with help from AdaFruit's GFX library, I was also able to get some graphics to display. But this was where a lot of things went wrong. The graphics was refreshing at a very slow rate because I wanted the ability to have smooth scrolling graphics, which meant I had to refresh the entire screen on almost every frame. This was quite hard.
In my next post, I will go into the details of how I made the connections between the components, and some modifications I made to Adafruit's ILI9341 in an effort to get faster graphics. In the same post, I will also discuss what the future holds for this project. Hopefully, it wouldn't end up in my long list of abandoned work.